F19-01 Turtle Deck Installation.
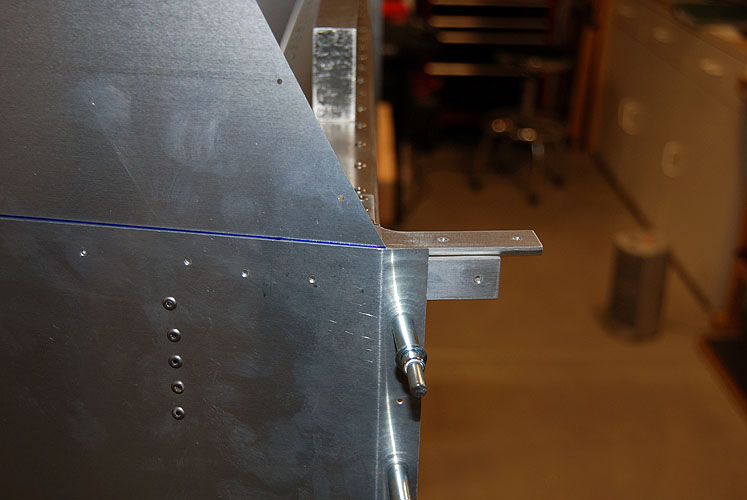
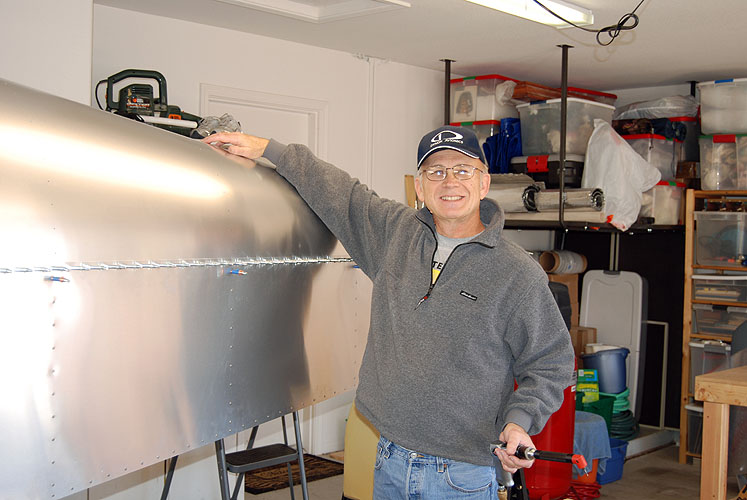
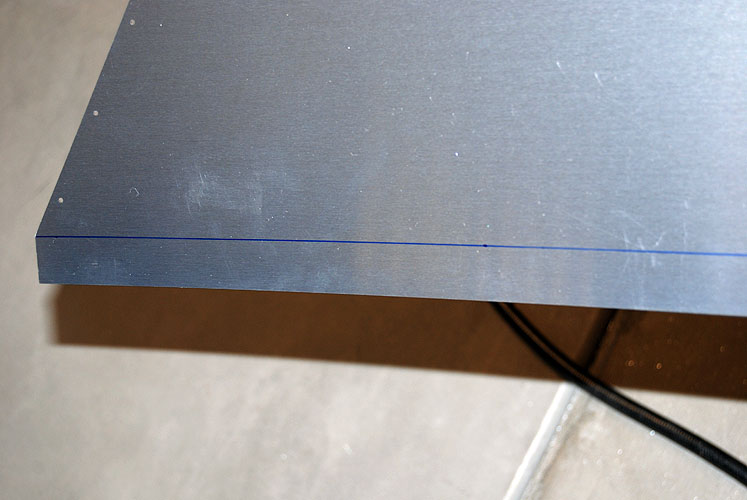
I drew a blue line 1" from the outer edge on F19-02 Skin Assembly.
1. Locate, Pilot Drill and Cleco Left Side Turtle Deck Skin
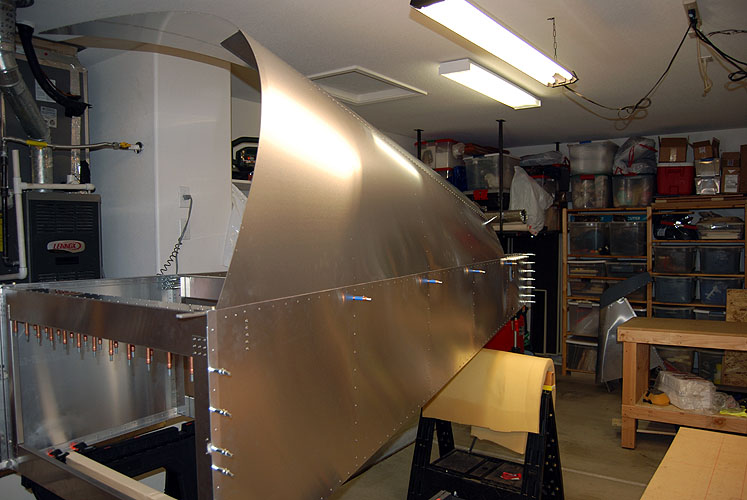
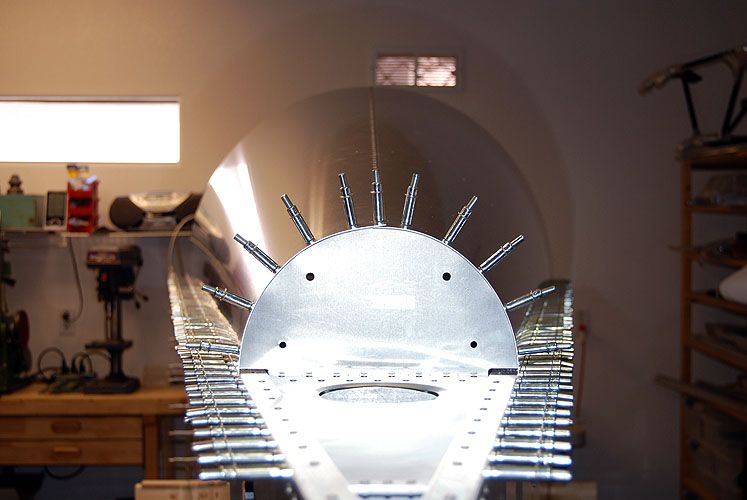
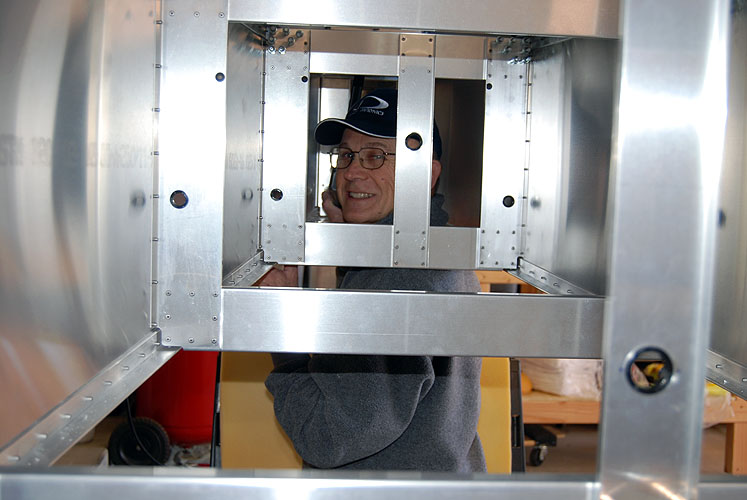
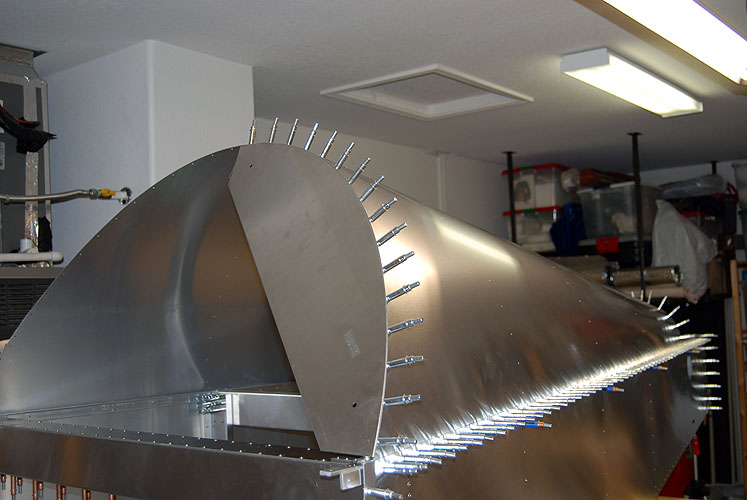
I removed the clecos along the longeron on the left side of the Aft Fuselage Box. I placed the Skin Assembly on top of the Box. I stood in side the box and raised the skin assembly to an angle that allowed me to slide the turtle deck skin in between the left side skin and longeron. I then proped the skin assembly up by wedging a length of angle between the splice channel and the right side longeron. I then positioned the turtle deck skin per the instructions in the plan. I next drilled pilot holes along the left side through the turtle deck skin. I clecoed the skin in place as I went along.
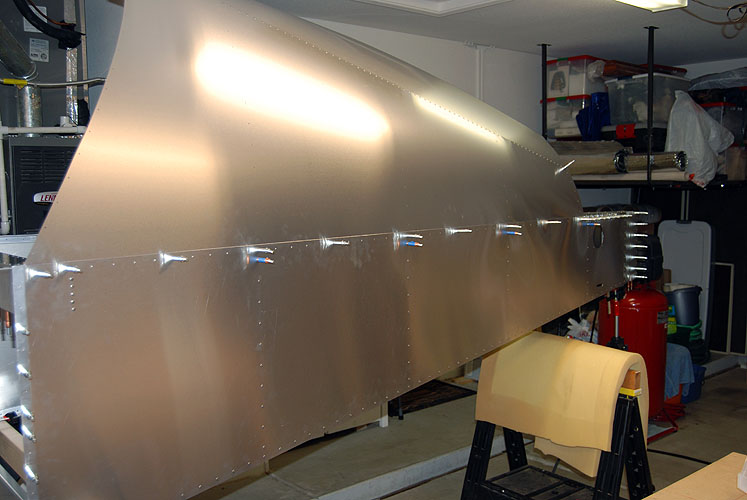
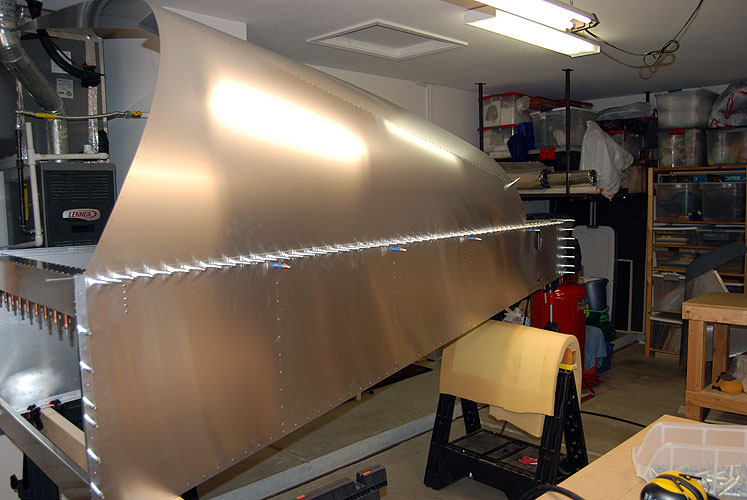
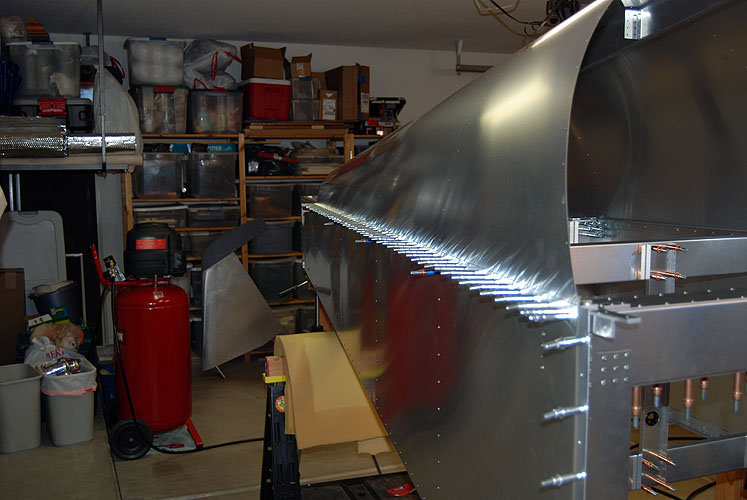
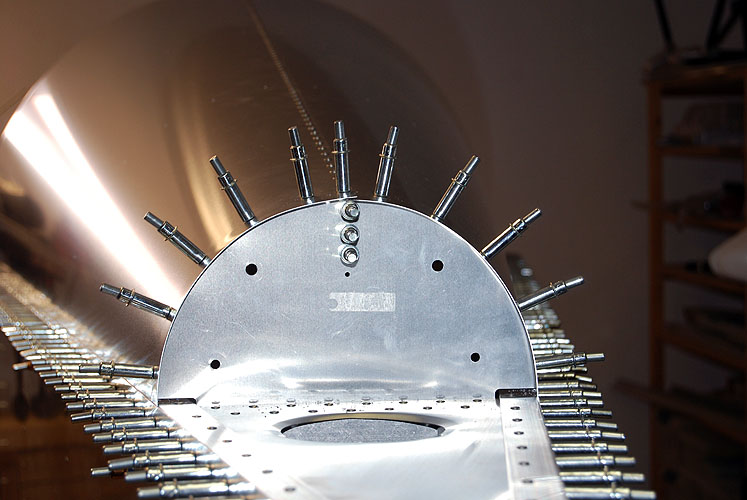
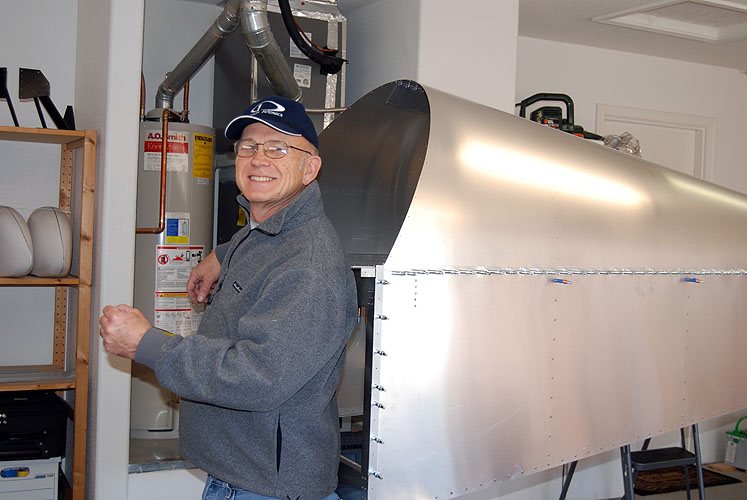
2. Locate, Pilot Drill and Cleco Right Side Turtle Deck Skin
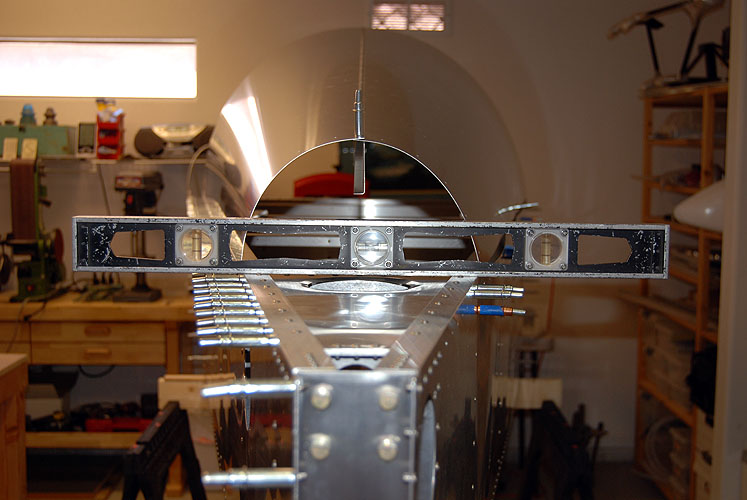
I removed the clecos along the right side of the box. I slide the turtle deck skin in between the longeron and the right side skin. I made sure that the box was not twisted by checking level and plumb at bothe ends of the box. Next I drilled pilot holes and clecoed the right hand side of the turtle deck skin.
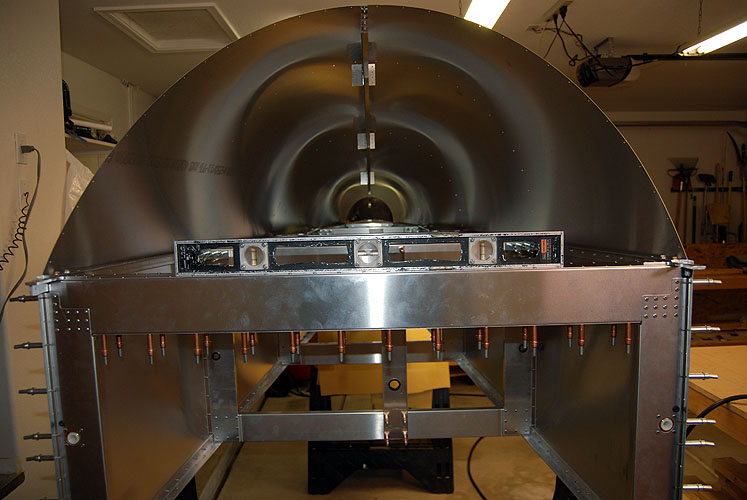
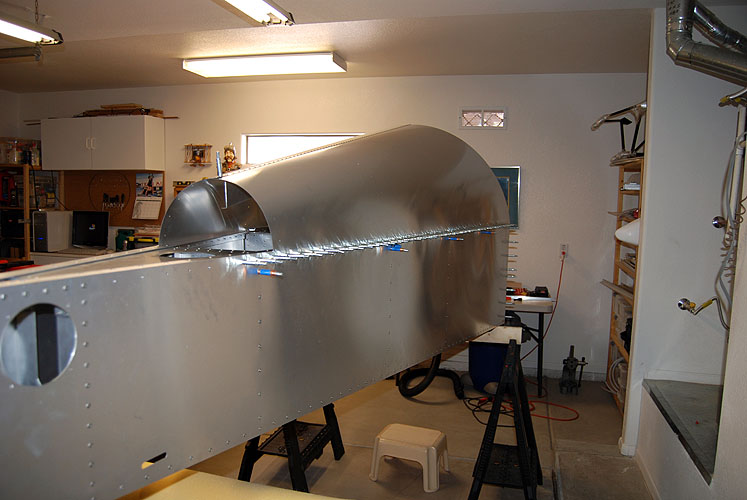
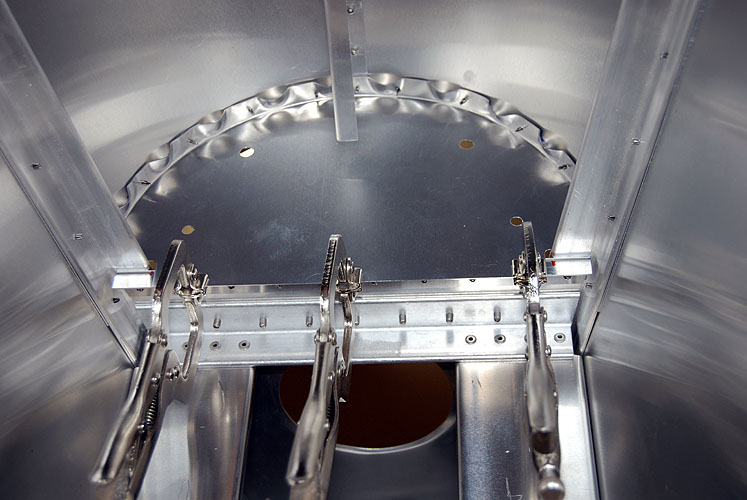
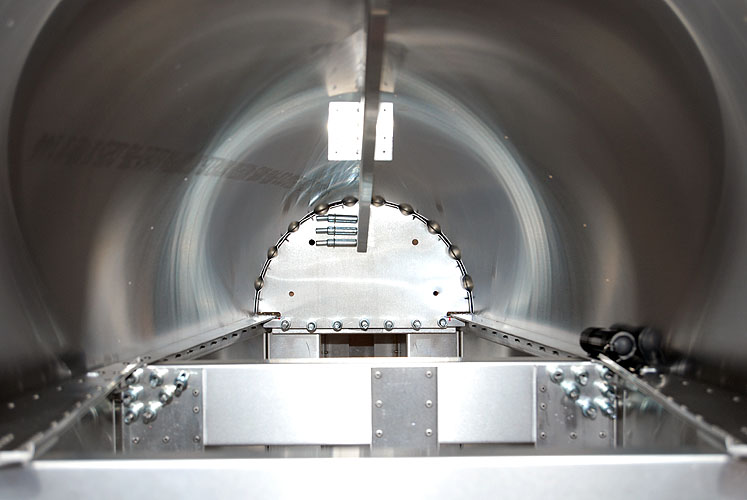
3. Locate, Pilot Drill and Cleco Former #5
F20-05 Former #5. Per the plans I next located Former #5 and pilot drilled holes. I clecoed it in place.
4. Locate, Pilot Drill and Cleco Aft Clip
Then I located, drilled pilot holes and clecoed F20-12 Aft Clip.
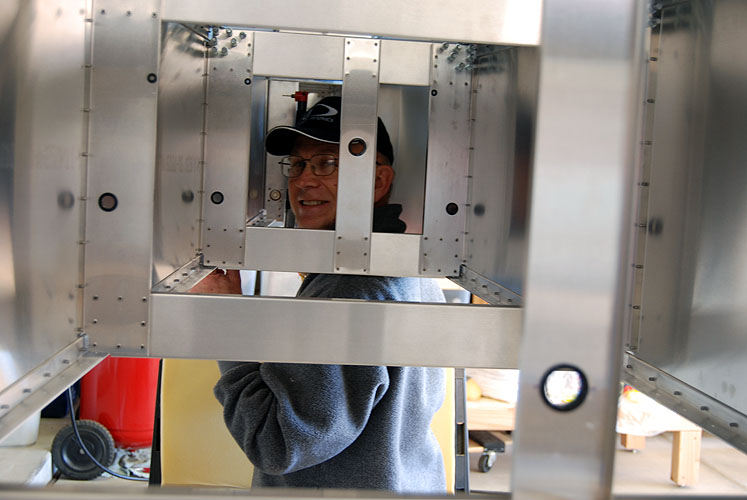
5. Locate, Pilot Drill and Cleco Formers #1
F20-01 Formers #1 I started to locate, pilot drill these formers to the turtle deck skin. I was able to get the left former clecoed to the turtle deck skin.
Click on a picture to enlarge it: